


Wednesday, May 29, 2013


Saturday, July 16, 2011


Tuesday, June 28, 2011
Big Buckle Card


Monday, June 20, 2011


Tuesday, June 14, 2011


Tuesday, June 07, 2011

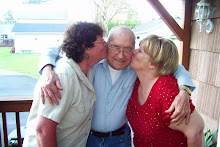
Anniversary Easel Card


I made this for some friends of ours that will be celebrating their 50th wedding anniversary....
Thursday, May 26, 2011


Monday, May 23, 2011


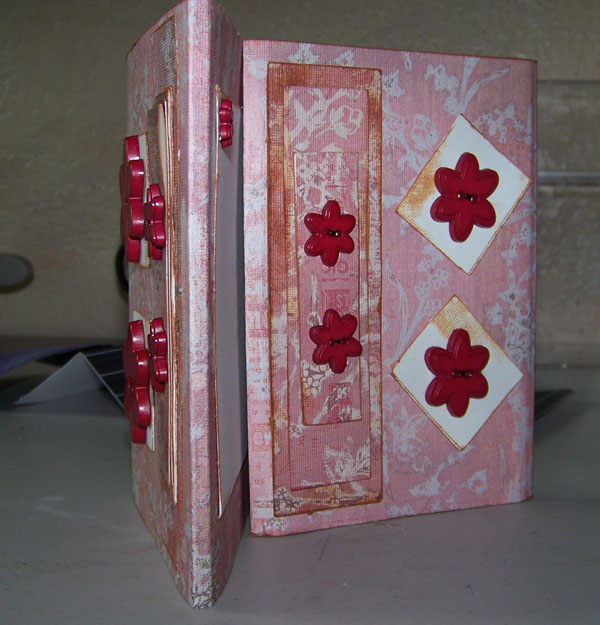
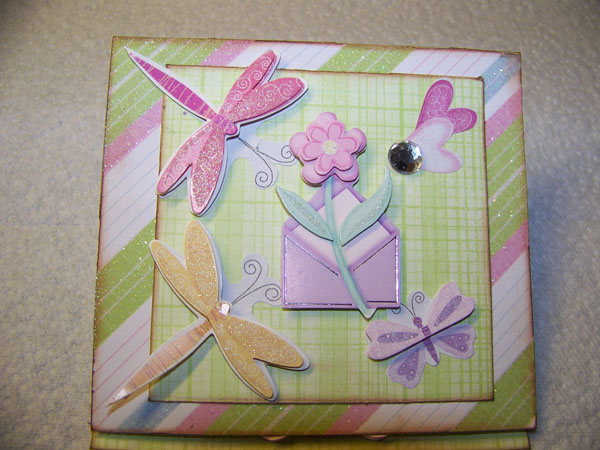
Making a book with CD's
decided I wanted to try and make a mini book using used CD/DVD disk as the pages. I think they turned out pretty good for my first try.


Turn this :


Into these...........
Branches on the Wall


I decided to place some branches on the side wall.......
Large Vinyl Projects


I love doing large cuttings........I love figuring out the design and the dimentions and the challenge of doing them.
*********Now make sure when you are moving the picture that you are just moving it and not strenghing it.********
To make a large cutfile.........I am going to use the Cats on the Cage as an example.............Open Sure Cuts A Lot and place the cage on the mat, stretch it out so that it fills the mat. Then using the arrows on the right on SCAL place the bottom of the cage at the bottom of the mat. This will make the stand of the cage where you can not see it.
Then use the arrow that lets you strength the top of the cage and stop when the cat disapears this is your 1st page so save it. Next ad another page go back to the 1st select all copy and then paste it on the page 2. then note on the right side where it starts going off the mat and pick a spot you can follow.
Then using the arrows move the cage over to the left until you get to the place where the right side is on the mat. save it.....then add another page (3) then go back to page 1 copy it and paste on page 3 then use the arrows and pull the cage up until the stand and the bottom are up and the bottom matches with the bottom of the cutting area save it. then copy it and paste it on a new page (4) then pick a spot on the stand and move it over until that spot is off on the left side and save it.
Now add another page (5) go back to page (1) copy it and paste on page (5). Now lower the cage untl the first half of the cat comes into view and lower it to the place where the top of the cage matches with where you placed it on page 1 save it. Add page (6) go back to page (5) copy and paste on page (6). Move the cat over until it is at the place where it was on page (5) and it should be off the mat now save page (6) and you should have it ..............let me know if this has helped you understand. Thank you
Make sure to use the landscape mat
Subscribe to:
Posts (Atom)


